Use a drop serve without complicating the release
Practise the bounce-based serving option, legal release and contact timing with a repeatable routine.
Understand the job.
A drop serve lets you strike the ball after a bounce. It can be a useful alternative when the volley-serve release feels awkward. The bounce does not remove the need for a legal starting position or a diagonal landing beyond the kitchen.
Drop-serve movement study
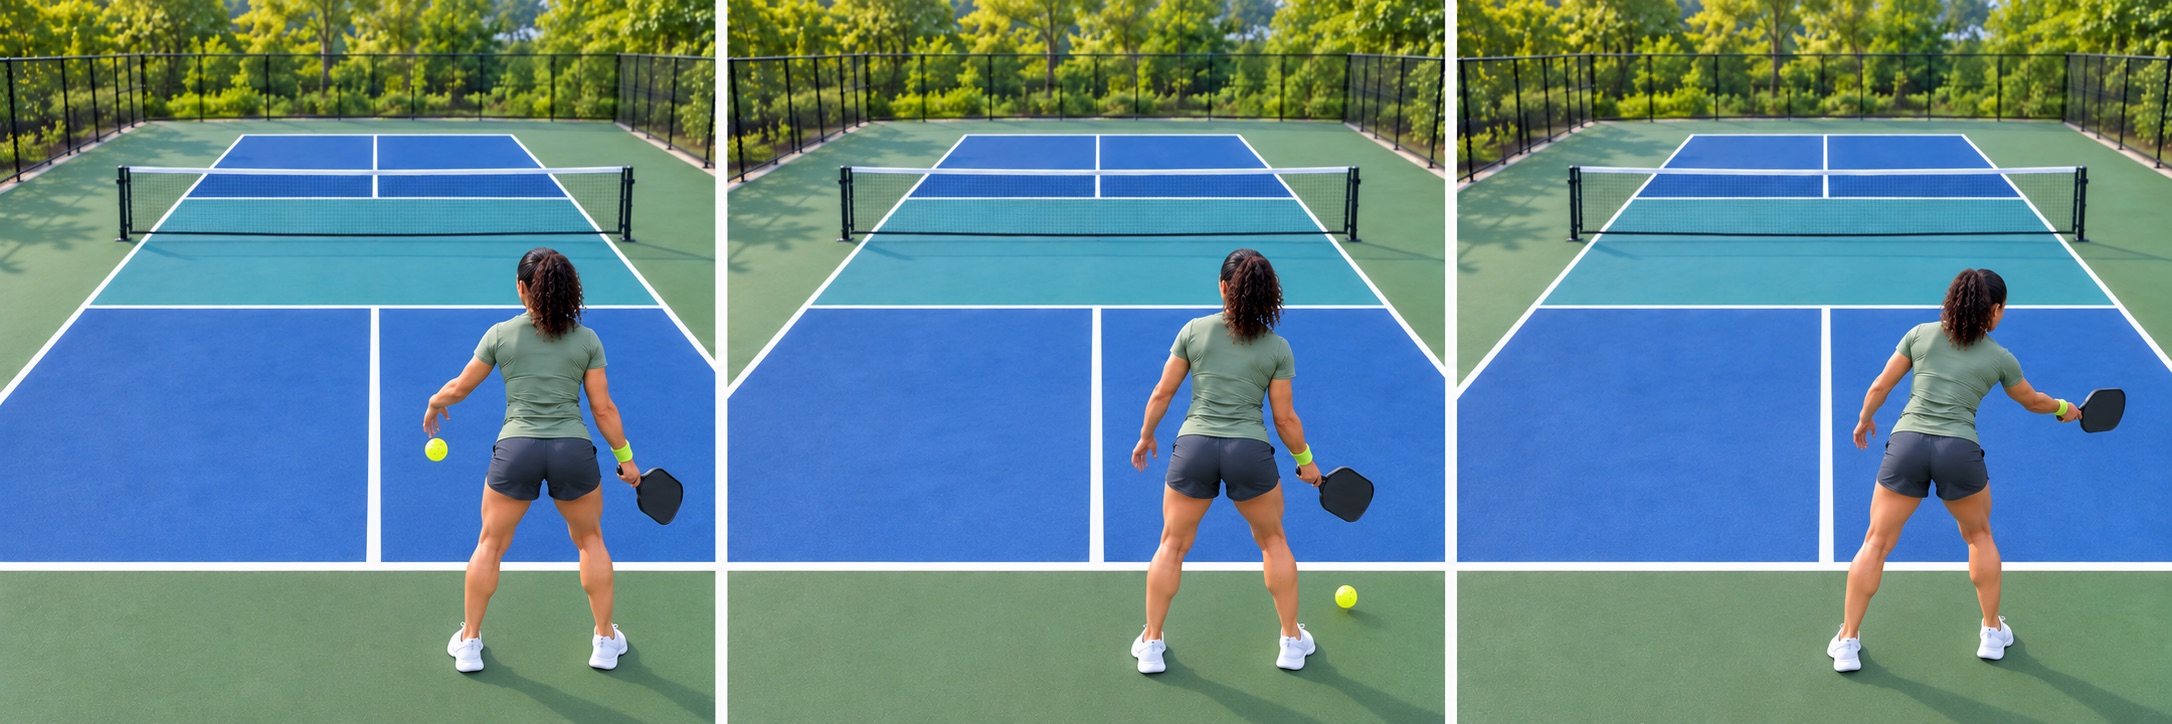
AI-generated movement study showing a fictional player from behind, facing the net. The lime band identifies the same right paddle wrist in every frame. Two-handed backhands add the bare left hand above the right on the handle. Use the written steps for technique and official rules for legality. Left-handed players reverse side-specific cues where appropriate.
Position, contact, recovery.
Where the movement starts
Stand behind the baseline within the service position boundaries. Release the ball where its bounce leaves room for your paddle. A drop serve is still directed diagonally into the opposite service court beyond the kitchen.
Read the contact
Let the ball fall naturally rather than throwing it down or propelling it upward. Hit after the bounce. The paddle stays in the dominant hand; the release hand becomes free. Volley-serve contact restrictions do not apply in the same way to a legal drop serve.
Check it with a partner
Practise the release and bounce before adding a swing. If the ball keeps landing too close to your feet, adjust the release position rather than chasing it with a rushed stroke. Check the current rulebook for event requirements.
Official court dimensions ↗Step by step.
- 01
Make a natural release
Release the ball from an unaided natural height. Do not propel it down or throw it upward to manufacture the bounce. Keep your release visible and easy to repeat.
- 02
Let the bounce create the timing
Wait for the ball to bounce before swinging. Try a comfortable contact rather than chasing the highest possible release. The volley-serve upward-arm, waist and paddle-head restrictions do not apply to the drop serve.
- 03
Keep the rest simple
Retain legal foot placement at contact. Aim into a broad diagonal box, finish balanced and prepare for the returning ball to bounce on your side.
When it goes wrong.
Pushing the ball downward
Open the releasing hand and let gravity make the bounce.
Reaching after a drifting release
Rehearse a release that falls into your comfortable contact area.
Practise this with a partner.
The partner stands safely outside the diagonal receiving lane while the server rehearses. They observe the release from the side, then move to the receiving court for actual serves.
Start here: Make ten natural releases behind the baseline. Watch where each bounce rises relative to your hitting side. Retrieve between attempts; do not leave loose balls underfoot.
Open all three rounds, a solo option and four-player rotation ↗Drop-serve release ladder
A suggested BracketReady practice task. The counts are your observations, not a skill-rating test.
Set it up
Choose a clear baseline position and a large legal diagonal target.
Do the work
Perform five release-only bounces, then 20 serves at comfortable pace. Count legal releases followed by a serve into your chosen target.
Count this
Legal release-and-serve sequences reaching the target. Record attempts and target hits using the same definition throughout.
Log this practice in Matchday ↗Sign in to save. Existing practice-log allowances apply. Log sessions you actually completed.Make it fit your level.
Practise the release and bounce without swinging.
Change between two broad diagonal targets without changing the release.
Alternate sides and use the same release routine without a rehearsal bounce.
Know what you are reading.
Original BracketReady explanation and practice design from the BracketReady learning desk, with the technique reference below. For individual technique feedback, work with a qualified coach.
Photo sequences use a consistent fictional player, wardrobe, equipment and court. Some guides share a relevant movement study; the written lesson explains the specific variation.
References checked 23 October 2026. Event rules and official updates take precedence.
Your next useful read.
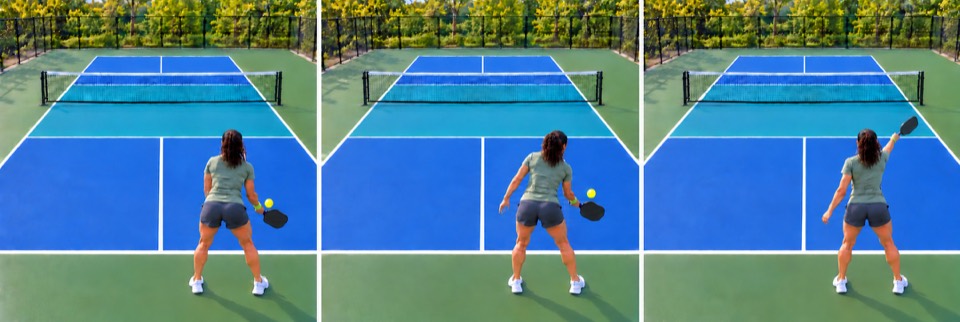
Build a repeatable underhand volley serve
Learn a simple legal volley-serve routine, comfortable contact and generous diagonal targets.
Add serve depth before adding more speed
Use generous depth targets, controlled pace and a return-based observation to develop your serve.
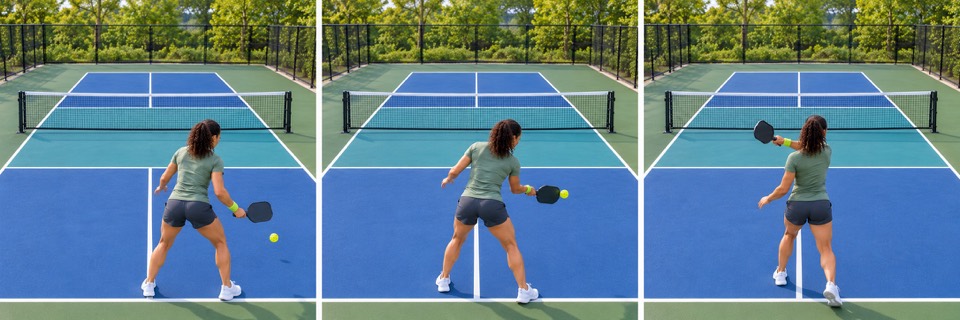
Return deep, then arrive ready
Use a compact return, a safe depth target and controlled movement towards your next court position.