Make wall practice transfer to a real court
Use safe spacing, a visible target and repeatable solo drills for control and recovery.
Understand the job.
A suitable practice wall can help you repeat contacts when a partner is unavailable. It does not reproduce an opponent’s decisions or a real court’s distance. Use it for a clear skill, then test that skill with a partner.
Ready-position movement study
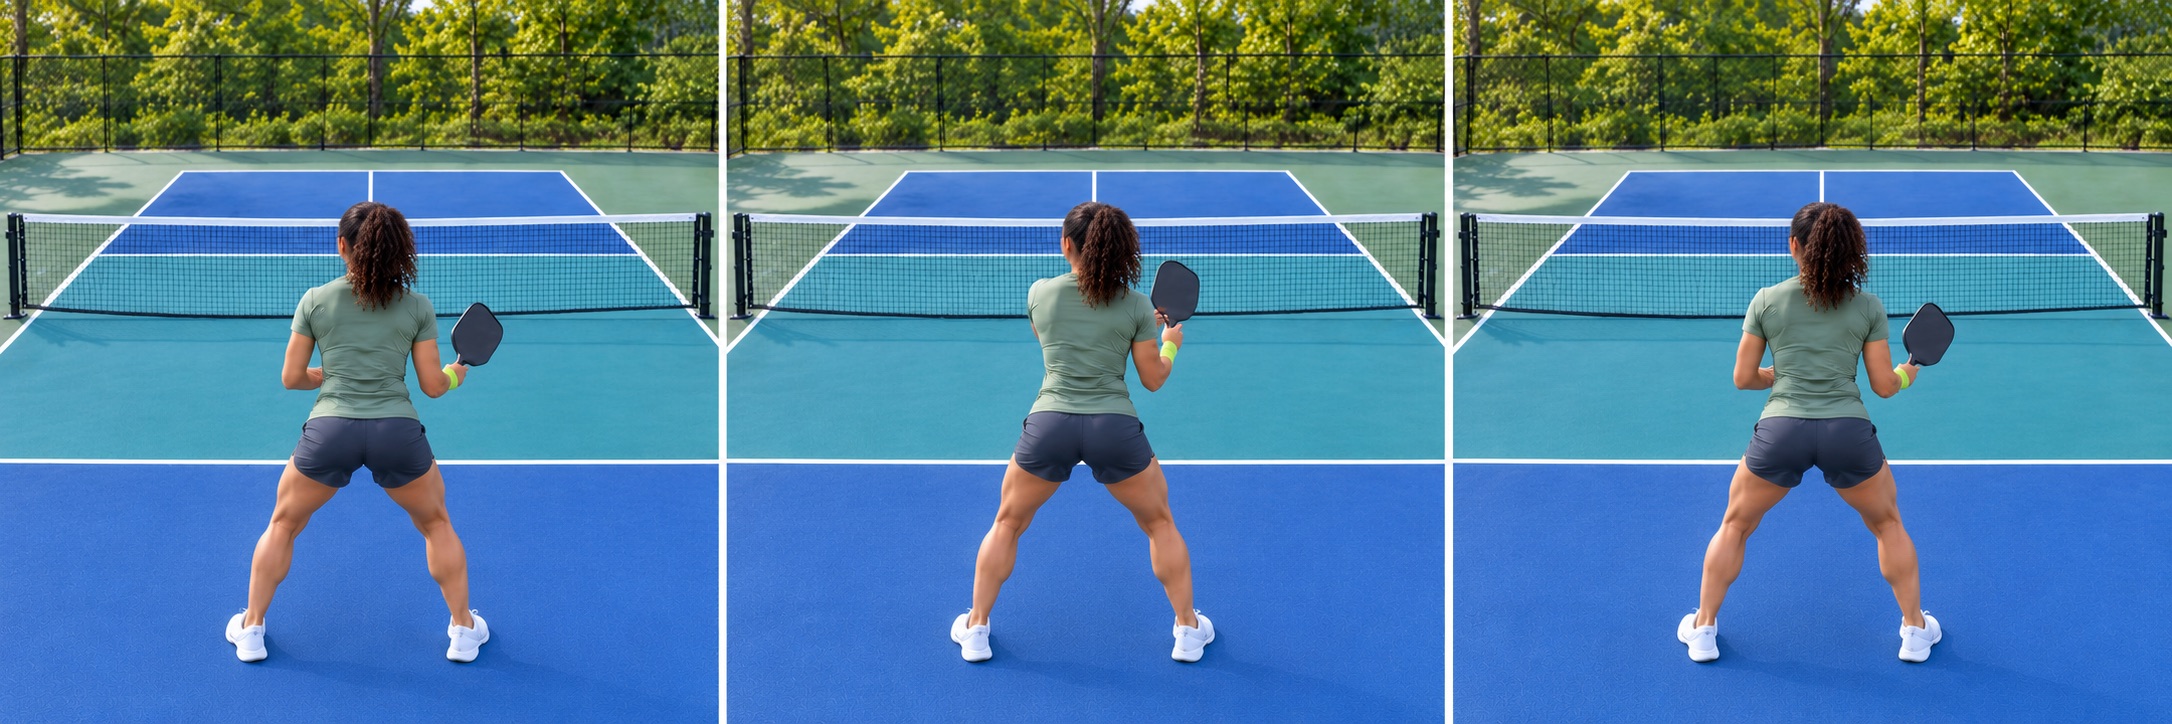
AI-generated movement study showing a fictional player from behind, facing the net. The lime band identifies the same right paddle wrist in every frame. Two-handed backhands add the bare left hand above the right on the handle. Use the written steps for technique and official rules for legality. Left-handed players reverse side-specific cues where appropriate.
Position, contact, recovery.
Where the movement starts
Face the net with room to move either way. At the kitchen, leave your shoes clear of the non-volley-zone line. A ready stance at the baseline can be lower and wider; do not copy one fixed paddle height for every situation.
Read the contact
Keep the paddle in the same dominant hand. A light touch from the other hand may support preparation without changing which hand grips the handle. Start with a comfortable handshake hold, then use gentle feeds to test both sides.
Check it with a partner
Ask a partner to alternate sides without warning. If you first have to untuck the paddle or uncross your feet, adjust your starting position. Readiness is the ability to respond, rather than a pose held for a photograph.
Official court dimensions ↗Step by step.
- 01
Choose a suitable wall
Use a permitted clear area with enough space and no people, windows or vehicles in the rebound path. Mark a removable target only where allowed. Start far enough away for comfortable reaction time.
- 02
Name the task
Choose a gentle forehand bounce contact, backhand contact or compact volley. Keep the speed manageable and recover the paddle between hits instead of chasing the longest streak at any cost.
- 03
Transfer the lesson
Record a short set, then repeat the same intention on court. Expect spacing and timing to change when the ball travels farther or an opponent chooses the direction.
When it goes wrong.
Standing too close while hitting harder
Back up or slow down until the motion stays controlled.
Only using the stronger side
Include manageable repetitions on both sides.
Solo target and recovery
A suggested BracketReady practice task. The counts are your observations, not a skill-rating test.
Set it up
A permitted safe wall area and a generous removable target.
Do the work
Play 20 controlled contacts with a ready recovery after each. Use the same distance and feed style when repeating the session. Count target hits, not an unverified skill rating.
Count this
Wall target hits followed by a controlled recovery. Record attempts and target hits using the same definition throughout.
Log this practice in Matchday ↗Sign in to save. Existing practice-log allowances apply. Log sessions you actually completed.Make it fit your level.
Let the ball bounce twice during the solo exercise if needed; this is a drill constraint, not match play.
Add a small adjustment step before each contact.
Alternate forehand and backhand contacts at the same pace.
Know what you are reading.
Original BracketReady explanation and practice design from the BracketReady learning desk, with the technique reference below. For individual technique feedback, work with a qualified coach.
Photo sequences use a consistent fictional player, wardrobe, equipment and court. Some guides share a relevant movement study; the written lesson explains the specific variation.
References checked 23 October 2026. Event rules and official updates take precedence.
Your next useful read.
Use skinny singles as a purposeful practice game
Agree a half-court format and use constraints to rehearse placement, patience and recovery.
Warm up your strokes before testing your pace
Use a gradual ball-based routine, a court check and a shared intention before your first game.
Build a practice plan you can actually measure
Choose one skill, set an observable task and connect practice to your next Matchday reflection.