Place an overhead before adding power
Track a manageable high ball, turn into position and direct a balanced overhead to open court.
Understand the job.
An overhead is an opportunity when you can reach the high ball comfortably and stay balanced. Placement can matter more than maximum pace. Start with easy feeds, sufficient space and a motion you can repeat without strain.
Overhead movement study
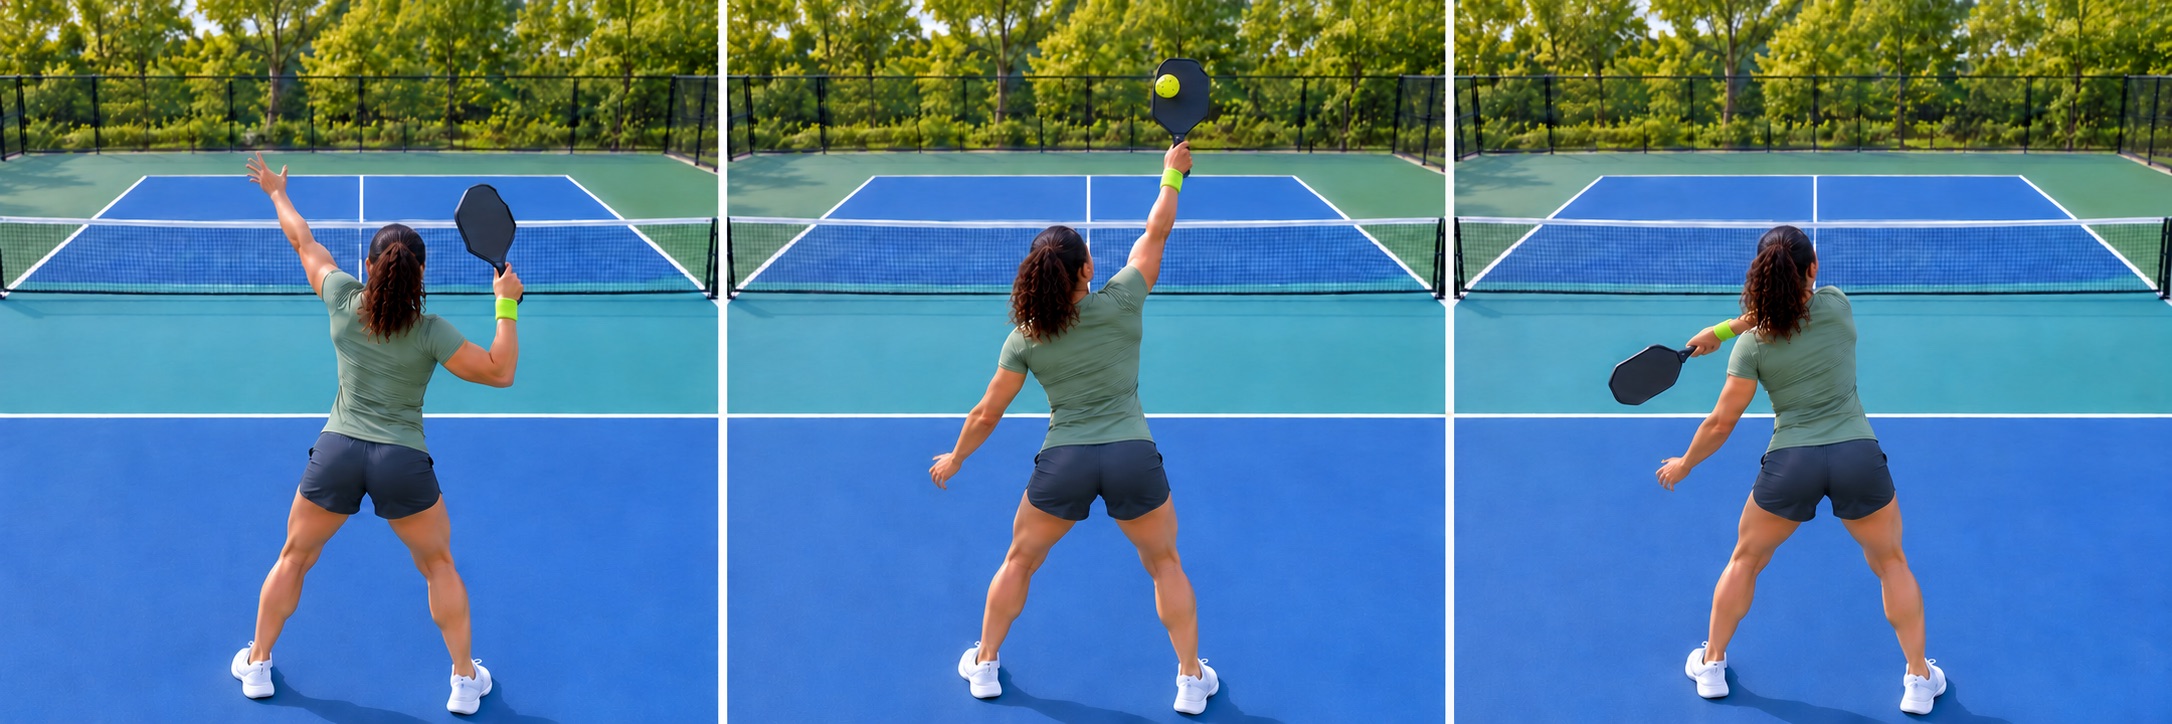
AI-generated movement study showing a fictional player from behind, facing the net. The lime band identifies the same right paddle wrist in every frame. Two-handed backhands add the bare left hand above the right on the handle. Use the written steps for technique and official rules for legality. Left-handed players reverse side-specific cues where appropriate.
Position, contact, recovery.
Where the movement starts
Create space under a reachable high ball while staying aware of the kitchen. Turn and move to organise; avoid running backwards while looking up. If the ball is beyond safe comfortable reach, let it bounce or use a different recovery.
Read the contact
The free left hand can help track the ball while the right paddle hand prepares. Meet it above and forward of the hitting shoulder, then finish in balance towards the court. Do not chase power by contacting behind your head.
Check it with a partner
Start with gentle predictable lobs and moderate placement. The feed must leave time to move safely, with spare balls cleared away. Count balanced contacts to a broad target before adding a live defender or a more demanding feed.
Official court dimensions ↗Step by step.
- 01
Turn and track
Recognise the high ball early and turn to move into position. Keep eyes on the flight. Do not backpedal blindly or attempt a contact that is already behind your safe reach.
- 02
Meet it comfortably in front
Use a controlled overhead motion with contact above and a little ahead of the hitting shoulder. Let the free arm help tracking and balance. Avoid forcing full reach or a jump.
- 03
Direct and recover
Choose open court with a broad margin inside the lines. Finish balanced and regain ready position. If you volleyed near the kitchen, keep the entire momentum outside it.
When it goes wrong.
Hitting straight at a well-set defender
Choose a broader open area before adding power.
Swinging at a ball behind the head
Let it bounce or leave it when appropriate instead of forcing the overhead.
Practise this with a partner.
The partner sends gentle lobs with plenty of time. The hitter begins a comfortable distance behind the kitchen. Agree a broad deep target and clear the entire movement area first.
Start here: Use ten gentle high feeds. Turn and move so contact can be above and forward of the hitting shoulder. Let an unsuitable ball bounce rather than forcing a stretched overhead.
Open all three rounds, a solo option and four-player rotation ↗Overhead placement set
A suggested BracketReady practice task. The counts are your observations, not a skill-rating test.
Set it up
A partner gives gentle high feeds to a comfortable overhead contact; use two broad targets.
Do the work
Play 20 controlled overheads, alternating targets. Count legal in-court placements with a balanced finish. Keep the effort below maximum.
Count this
Controlled overheads reaching the intended target. Record attempts and target hits using the same definition throughout.
Log this practice in Matchday ↗Sign in to save. Existing practice-log allowances apply. Log sessions you actually completed.Make it fit your level.
Shadow the turn and finish, then use lower easy feeds.
Let a defender return the overhead and play the next ball.
Allow the feeder to vary the location slightly.
Know what you are reading.
Original BracketReady explanation and practice design from the BracketReady learning desk, with the technique reference below. For individual technique feedback, work with a qualified coach.
Photo sequences use a consistent fictional player, wardrobe, equipment and court. Some guides share a relevant movement study; the written lesson explains the specific variation.
References checked 23 October 2026. Event rules and official updates take precedence.
Your next useful read.
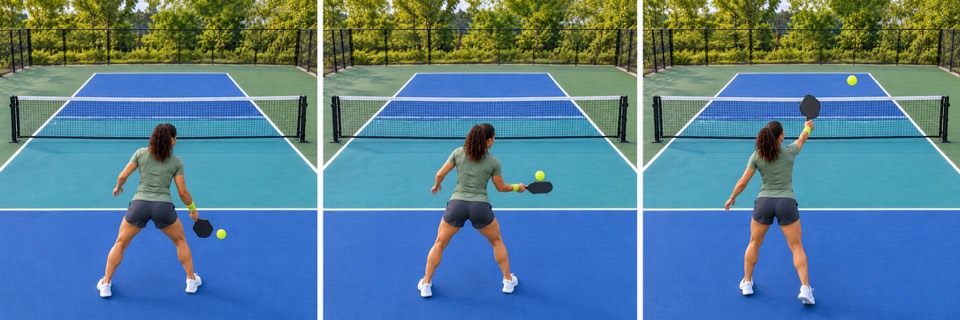
Use a lob with a reason and room
Explore an offensive or defensive lob with controlled lift, a realistic target and recovery for the reply.
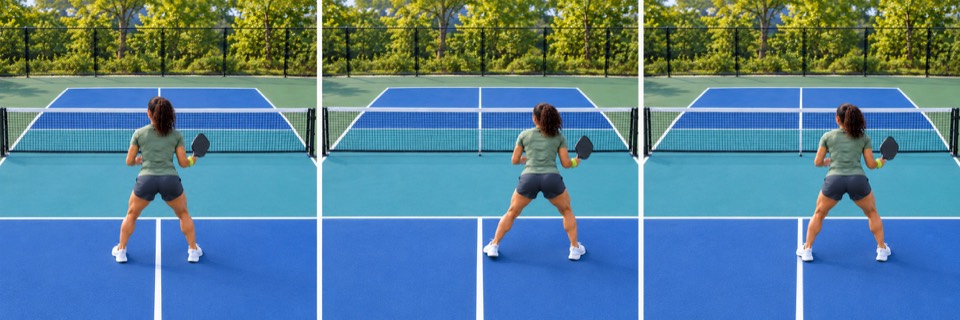
Retrieve a lob with an early turn and a clear call
Organise a safe recovery, partner coverage and a neutral reply when the ball goes over you.
Your first game: the rules that keep play flowing
Learn the two-bounce rule, kitchen, serving sequence and traditional scoring with a simple on-court rehearsal.